Add users
You can manually add up to 25 users at a time with their name and email address or just their email address. Or, you can upload a CSV file to add users in bulk. You can’t add existing users in your organization or users that already have a Webex account.
First and last names have a maximum length of 30 characters, and can’t include the following characters %, #, <, >, \, /,", .
- From Control Hub, go to Management and select Users.
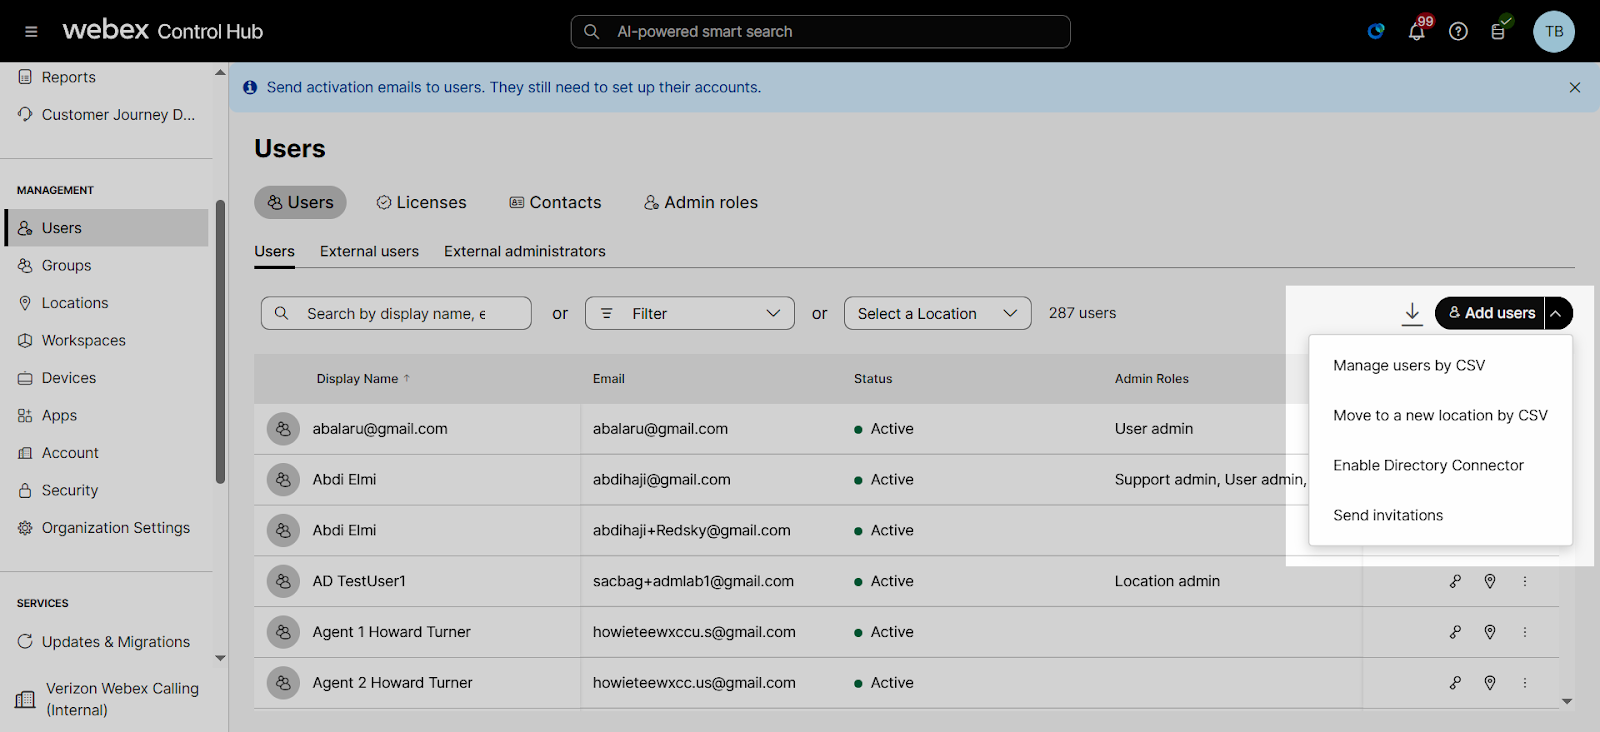
- Select Add users.
- Choose to Manually add users or CSV add or edit users.
- If you choose CSV add or edit users, prepare and upload your CSV file. If it’s your first time, we recommend using the template. To do so, select Download CSV template.
- If you choose Manually add users, follow the remaining steps below.
- Choose to add Names and Email address or Email address.
- Enter the information for each user. If you're just using email addresses, you can separate them with commas. If you're adding names as well, click + after each entry to add it to the list.
- Click Next.
- If you’re using automatic license assignment, you can see which services those users are getting. If you want to override the automatic license assignment for these users, click Assign license manually and select the services to assign.
When you select Webex Attendant Console, set the Webex Calling service to Professional license.
You can’t assign both the Webex Calling standard license and Customer Experience Essentials license to a user.
- Click Next.
- Review the list of users and services when you see the Review screen.
- Click Add users.